Introduction
Imagine standing on the Moon’s far side, a place no human has ever seen firsthand, and capturing its rugged beauty in a single frame. That’s exactly what NASA Artemis 2 commander Reid Wiseman and renowned astrophotographer Andrew McCarthy achieved—a never-before-seen portrait of the lunar far side. But how did they pull it off? This step-by-step guide takes you behind the scenes of their groundbreaking collaboration, from planning to post-processing. Whether you’re a seasoned astrophotographer or simply fascinated by the night sky, you’ll learn the methods and mindset needed to create your own breathtaking lunar images.

What You Need
- High-resolution telescope or telephoto lens (at least 600mm focal length for detailed lunar shots)
- DSLR or mirrorless camera with manual controls and low-noise sensor
- Sturdy equatorial mount to track the Moon’s motion
- Remote shutter release or intervalometer
- Image stacking software (e.g., AutoStakkert!, RegiStax, or Photoshop)
- Post-processing tools (Lightroom, Photoshop, or GIMP)
- Clear skies and accurate timing (use apps like Stellarium or Moon Atlas)
- Collaboration partner (optional but helpful for creative input and technical support)
Step-by-Step Guide
Step 1: Understand the Lunar Far-Side Challenge
The Moon’s far side is never visible from Earth—it’s hidden by synchronous rotation. To photograph it, you need either a spacecraft (like NASA’s Lunar Reconnaissance Orbiter) or a clever combination of Earth-based imaging and orbital data. Wiseman and McCarthy used publicly available data from NASA’s LRO as a foundation. Start your project by studying existing datasets—the LRO’s Wide Angle Camera provides global maps, which you can download from the Planetary Data System. This step is crucial for understanding terrain, lighting angles, and potential targets.
Step 2: Plan the Shot with Ephemeris and Timing
McCarthy and Wiseman targeted a specific region of the far side that offers dramatic topography—mountains, craters, and maria-like plains. Use ephemeris software to calculate the Moon’s libration (the slight wobble that reveals small strips of the far side). The best times to capture these strips are during lunar librations in longitude and latitude. Set an alarm for when the Moon is highest in your sky—typically around midnight—to minimise atmospheric distortion. Pro tip: Check weather forecasts and aim for nights with low humidity and steady seeing.
Step 3: Assemble and Align Your Equipment
Mount your telescope or lens on an equatorial mount, then polar align it to the celestial pole. Use a polar alignment scope or app (like Polemaster) for precision. Attach your camera with a T-ring adapter. For lunar imaging, use a high frame rate video mode (e.g., 60 fps) instead of stills—this lets you stack thousands of frames later. Focus manually using a Bahtinov mask or by magnifying the live view. Tweak exposure settings: start with ISO 200, shutter speed 1/125s, and f/8, then adjust based on brightness.
Step 4: Capture Multiple Data Sets for Different Regions
Because the far side is never fully revealed in one night, you’ll need to shoot over several days or even months. McCarthy and Wiseman likely captured the near side and then combined it with LRO-derived far-side imagery. Capture a series of short video clips (2-3 minutes each) of the lunar limb—those edges where the far side peeks through. Use a motorized filter wheel if you want color channels (RGB). For each clip, ensure the Moon stays centred; guide your mount manually or with autoguiding software.
Step 5: Pre-Process and Stack Your Frames
Import video files into stacking software like AutoStakkert!. Use the Surface Stabilization mode to align frames based on lunar features. Select a quality estimator (e.g., Local Quality) and stack the best 20-30% of frames. Export as a 16-bit TIFF. Repeat for each video. If you’re combining Earth-based and orbital data, align the stacked lunar image with LRO mosaics using Photoshop or GIMP by rotating and scaling until craters match.
Step 6: Post-Process for Detail and Contrast
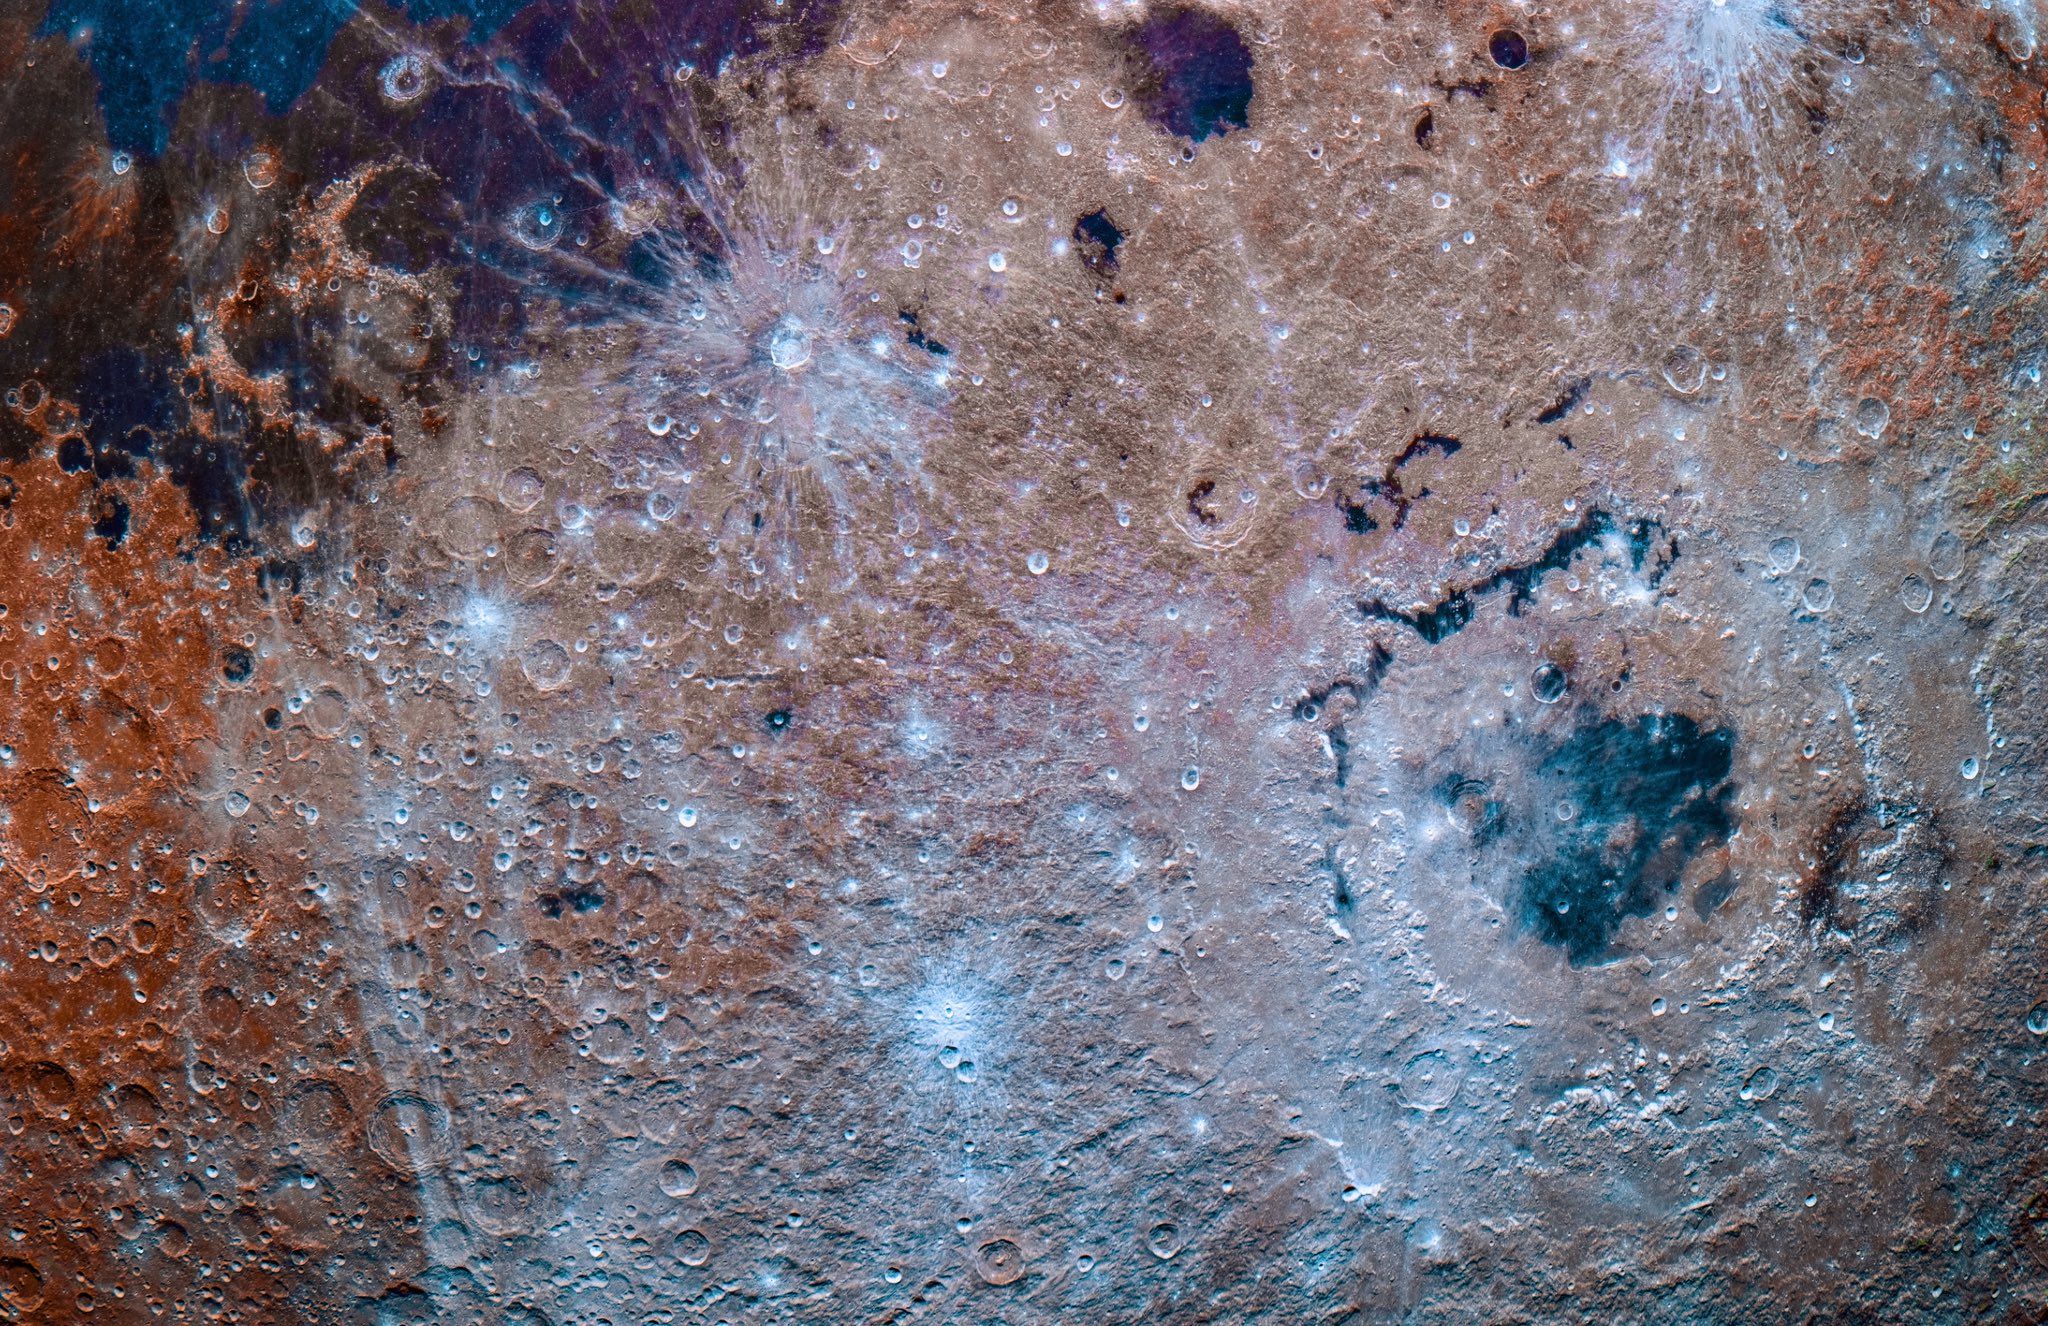
Open your stacked image in editing software. First, apply a mild sharpening using Unsharp Mask (radius 0.5 pixels, amount 50%). Then use Curves or Levels to boost contrast without clipping highlights. For the far side, you may need to adjust brightness globally and locally—use a luminosity mask to protect delicate shadows. McCarthy and Wiseman also enhanced subtle color variations (e.g., blue-rich titanium-bearing basalts). Try a saturation increase of 10-20% on a duplicate layer set to ‘Color’ blend mode.
Step 7: Composite Earth-Based and Orbital Views (Optional)
To create a true far-side portrait, blend your Earth-captured limb with LRO-derived far-side texture. In Photoshop, place the LRO map as a layer above your lunar image. Set layer blend mode to ‘Lighten’ or ‘Screen’. Use a layer mask to hide the near-side portion, revealing only the far side. Adjust opacity and apply a Gaussian blur to the mask edge to hide seams. This technique, used by the duo, yields a cohesive view that appears as if you’re floating 50 km above the cratered surface.
Step 8: Final Output and Sharing
Save as a high-resolution TIFF (16-bit, Adobe RGB) for archiving. For web sharing, convert to sRGB JPEG (quality 95%). Add a watermark or description crediting your collaboration if applicable. Wiseman and McCarthy’s images were later merged into a single panoramic shot for NASA’s promotional materials. Consider donating your final image to public repositories like the LROC website to contribute to citizen science.
Tips for Success
- Collaborate with an expert: If you’re a beginner, team up with an experienced astrophotographer. The synergy of an astronaut’s orbital perspective and a photographer’s creative eye can unlock results neither could achieve alone.
- Use free orbital data: NASA’s LRO Moon Trek and Quickmap are goldmines. You can also download 3D terrain models to plan your exact framing.
- Be patient: The Moon’s libration cycle takes about 27 days, and optimal conditions may only occur a few times a year. McCarthy’s hundreds of hours of practice paid off—you’ll need the same dedication.
- Experiment with false color: To reveal mineral variations, try splitting your stacked image into RGB channels and enhancing the red-blue contrast. This can expose ancient lava flows.
- Share your process: Document each step and post on astro forums like Cloudy Nights or Reddit’s r/astrophotography. You might inspire the next astronaut-astrophotographer collaboration!